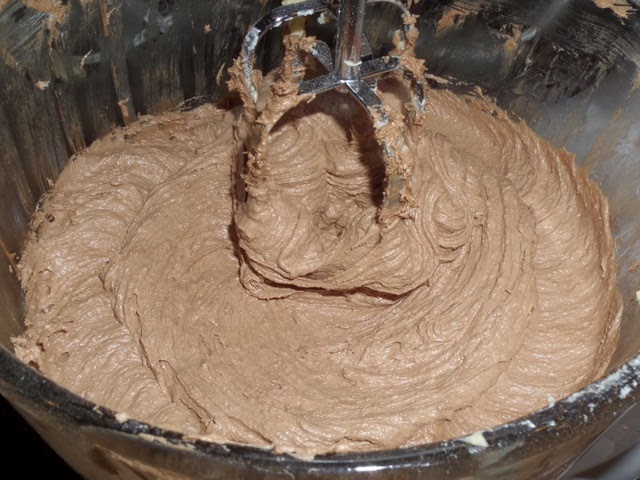
Hi lovely reader! I hope you are having a great Labor Day weekend! In honor of celebrating summer, even if it's been one of the least "summery" summers of all time, I wanted to share this easy and fun s'mores cupcake recipe that I found on Food Network's The Kitchen App (this is not a sponsored post). The cupcakes are perfect for a treat yourself kind of night or to share with family or friends.

Cupcake Ingredients:
3/4 cup all-purpose flour
3/4 cup finely ground graham crackers
1 1/4 teaspoon baking powder
1/2 teaspoon fine salt
1 1/2 stick (6 oz) unsalted butter, at room temperature
1/2 cup packed light brown sugar
2 large eggs
1 teaspoon vanilla extract
2/3 cup milk
Chocolate Filling:
8 oz chopped bittersweet chocolate
1/3 cup heavy cream
1 tablespoon light corn syrup
Meringue Frosting:
4 egg whites, at room temperature
2/3 cup granulated sugar
1/8 teaspoon cream of tartar
Chocolate squares, for garnish
Graham cracker shards for garnish
This recipe does include a ingredients for the actual cupcake mix but if you want to simplify even more you could buy a boxed cake mix and then just whip up the filling and frosting!
For the Cupcakes,
Step 1: Preheat the oven to 350 degrees F. Line one 12-cup standard muffin tin with paper cupcake liners.
Step 2: In a small bowl, whisk the flour, ground graham crackers, baking powder and salt. Set aside.
Step 3: In a stand mixer fitted with the paddle attachment, beat the butter and brown sugar on medium speed until combined. Increase the speed to medium-high and continue to beat, stopping once or twice to scrape down the sides of the bowl, until light and fluffy, 3 to 5 minutes. Add the eggs and vanilla and beat until combined. Add the flour mixture and milk, alternating, starting and ending with the flour mixture, until just combined.
Step 4: Divide the batter between the muffin cups, filling each about two-thirds full. Bake until golden brown, or a toothpick inserted in the center comes out clean and the top springs back to the touch, about 25 minutes. Cool in the tin 5 minutes, and then transfer to a wire rack to cool completely.
For the Chocolate Filling,
Step 5: While the cupcakes cool, prepare the filling: Combine the chocolate, cream and corn syrup in a medium bowl and microwave in 30-second intervals on high, stirring, until smooth. Set aside until cooled and thickened slightly, about 30 minutes.
For the Meringue Frosting,
Step 6: Bring 1 inch of water to a simmer in a saucepan that can hold a heatproof stand mixer's bowl above the water. Combine the egg whites, granulated sugar and cream of tartar in the stand mixer bowl. Set the bowl above the simmering water and whisk until the sugar is dissolved and the egg whites are warm to the touch, turn white and are beginning to get fluffy. Transfer the bowl to the stand mixer, fitted with a whisk attachment, and whip on high speed until the meringue is cooled, fluffy and very thick. Beat in the vanilla.
To Assemble,
Step 7: Place the chocolate filling in a pastry bag or re-sealable plastic bag fitted with a small round tip (about 1/8-inch diameter) and snip the end. Pierce the center of each cupcake with the pastry tip and gently squeeze in the chocolate filling until it begins to come out of the top of the cupcake. Repeat with the remaining cupcakes.


Step 8: Pipe or swirl the meringue frosting onto each cupcake. If desired, brown the meringue with a kitchen torch or place briefly under the broiler. Garnish with a chocolate square.

Enjoy! Xx